HOW TO GET TOP DOWN PICTURES IN LANDSCAPE WITHOUT USING A DRONE
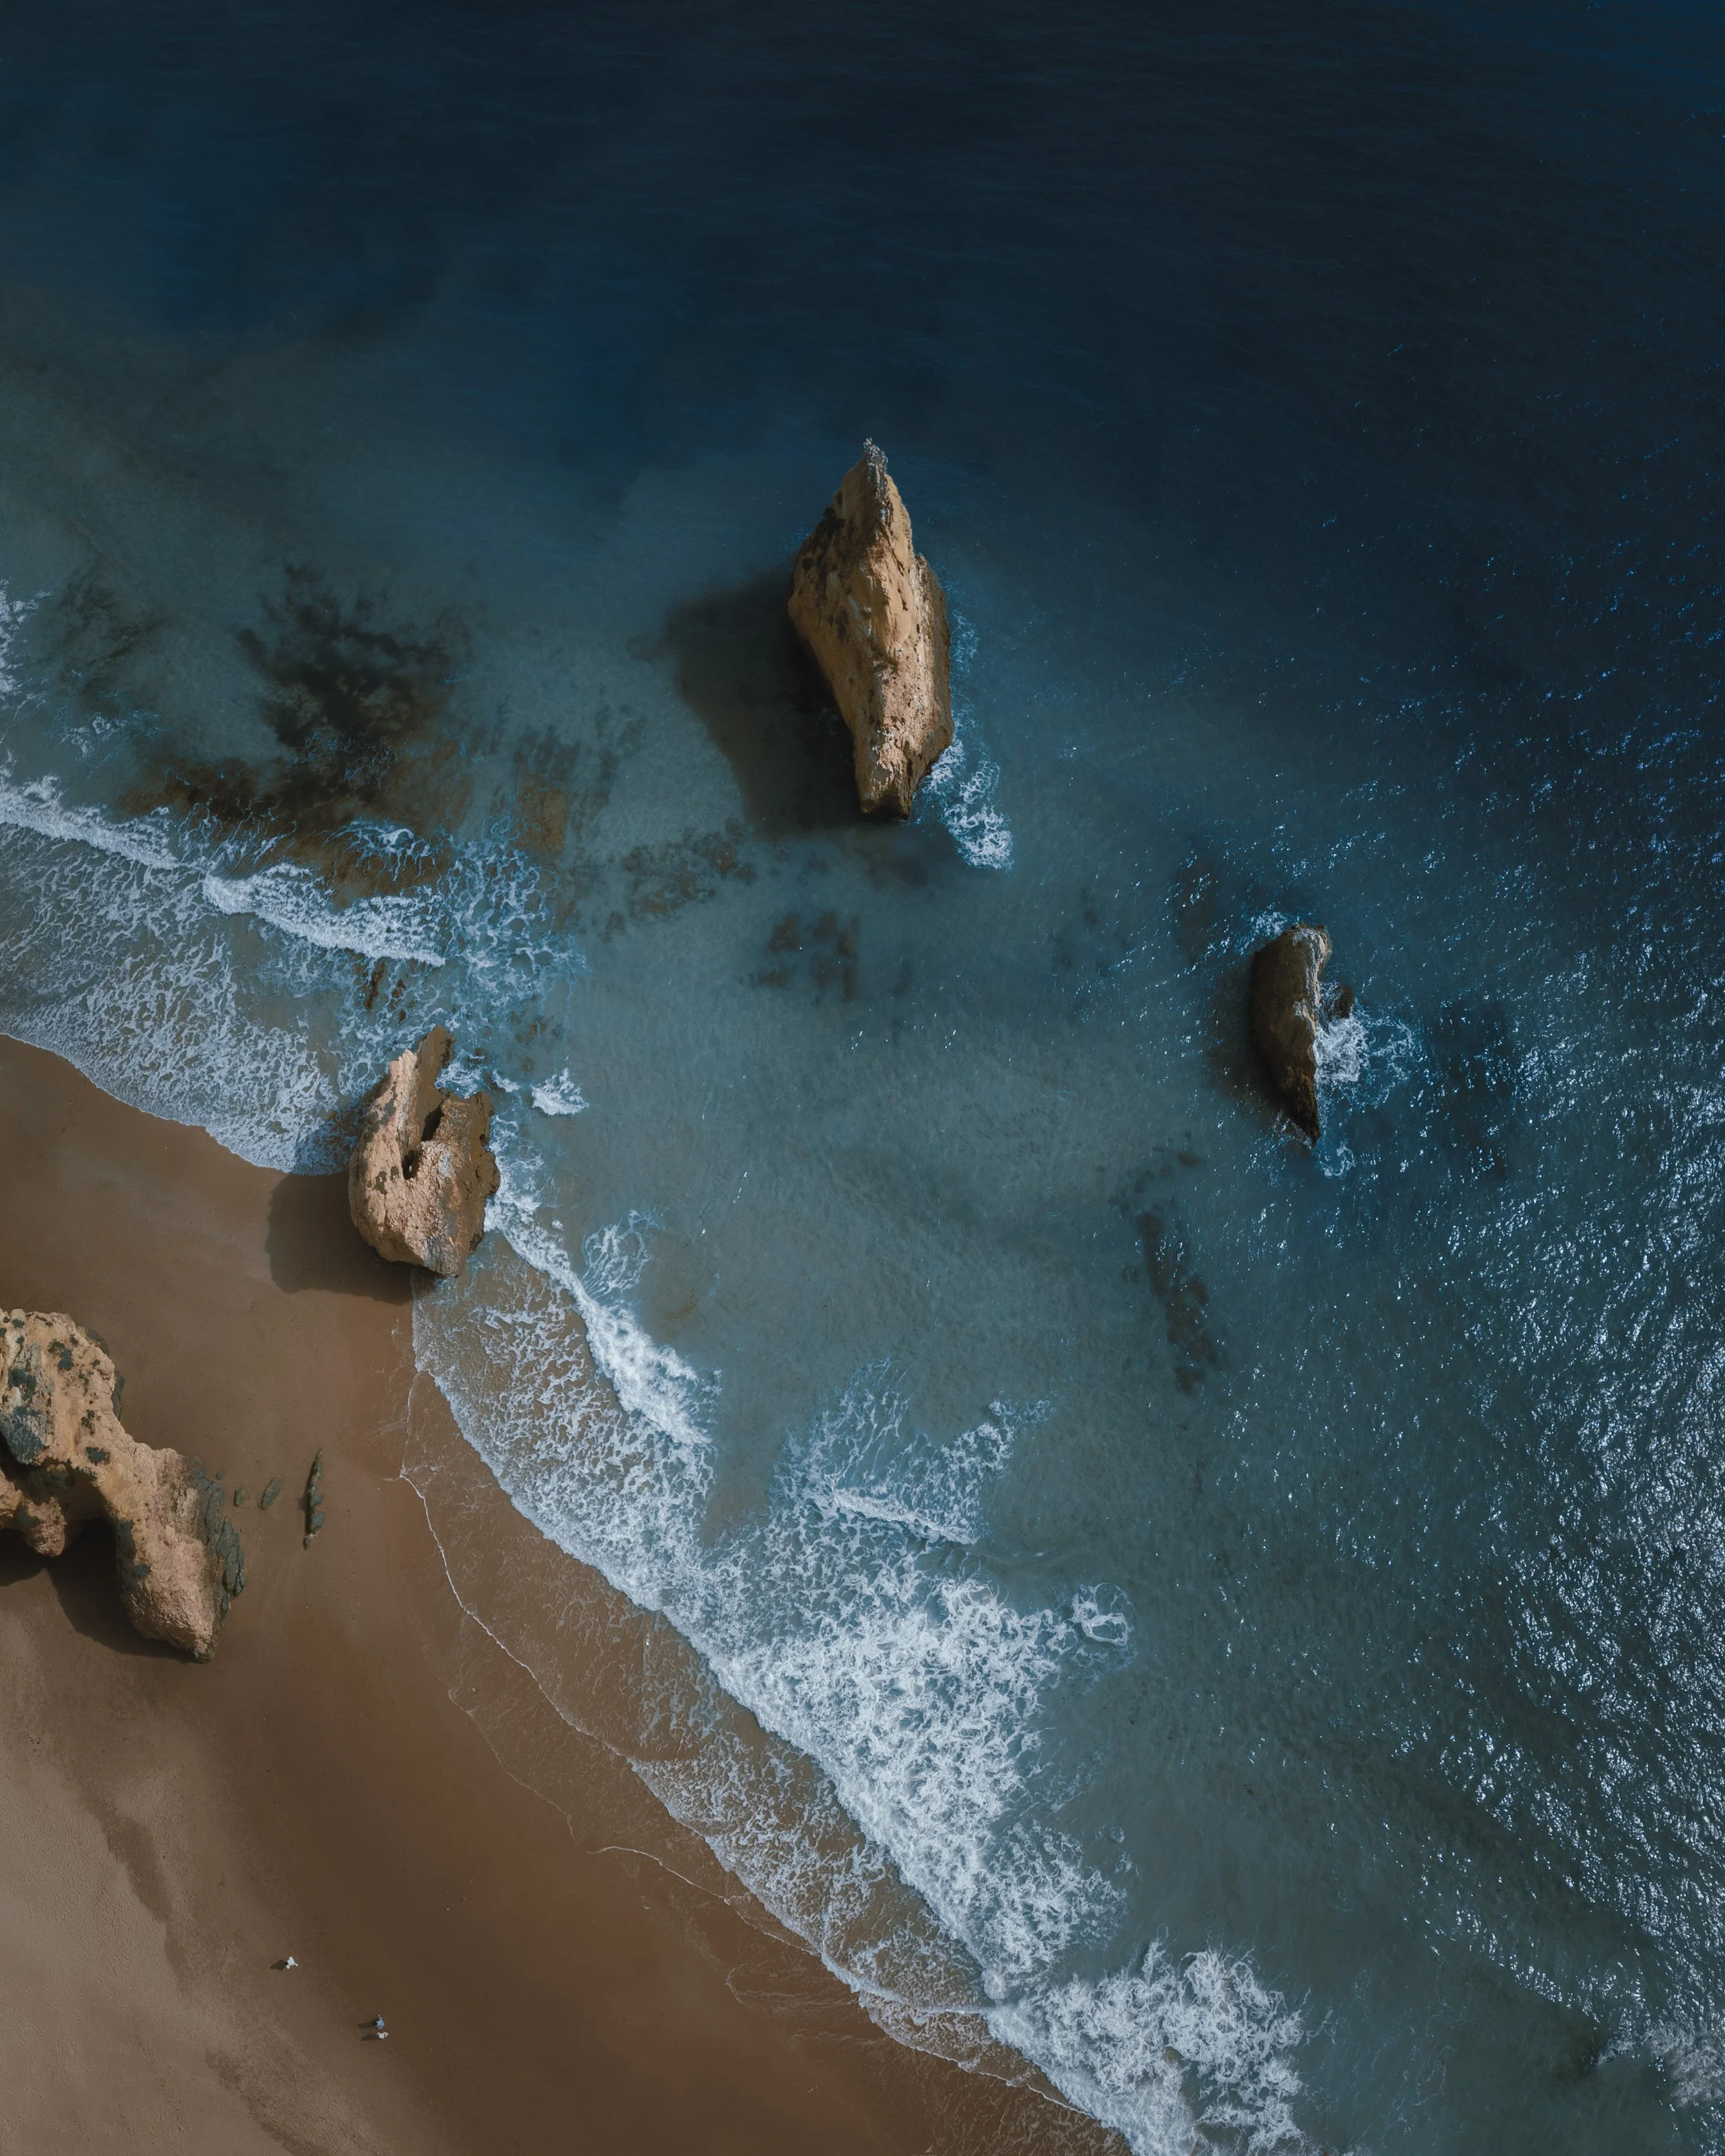
Have you ever wanted to take a picture with a drone and you couldn't because of regulations, wind, battery/memory card issues... or you just don't have a drone? The first of these cases is what happened to me on my last trip. The airspace was quite restricted for photographic recreational flying and some of the pictures I would have loved to take with the drone I couldn't take... or could I?
From the moment I checked the flight maps and saw how forbidden it was to fly the drone in some of the places, I put my creativity to work and came up with an idea to try not to run out of those top downs I liked so much and, if I'm here today sharing it with you, it worked!
To do this, all you need is:
Willingness to walk.
A reflex/mirrorless camera with a 70-300mm lens or similar.
Some idea of composition
Lightroom & Photoshop
So far so simple, right? Well, don't worry, it's not going to get any more complicated, I'm going to explain step by step how I managed to take this photo without using a drone so that you have a new resource to use and you don't run out of that cool overhead shot you had in mind.
First of all, it is very important to know what a top down photograph with a drone is. A top down photograph is a shot that is taken parallel to the main scene, giving a "bird's eye" view from above. Here are some examples taken with a drone so you can see the final effect we want to achieve:
Once we are clear about the final effect we want to achieve, let's get down to business:
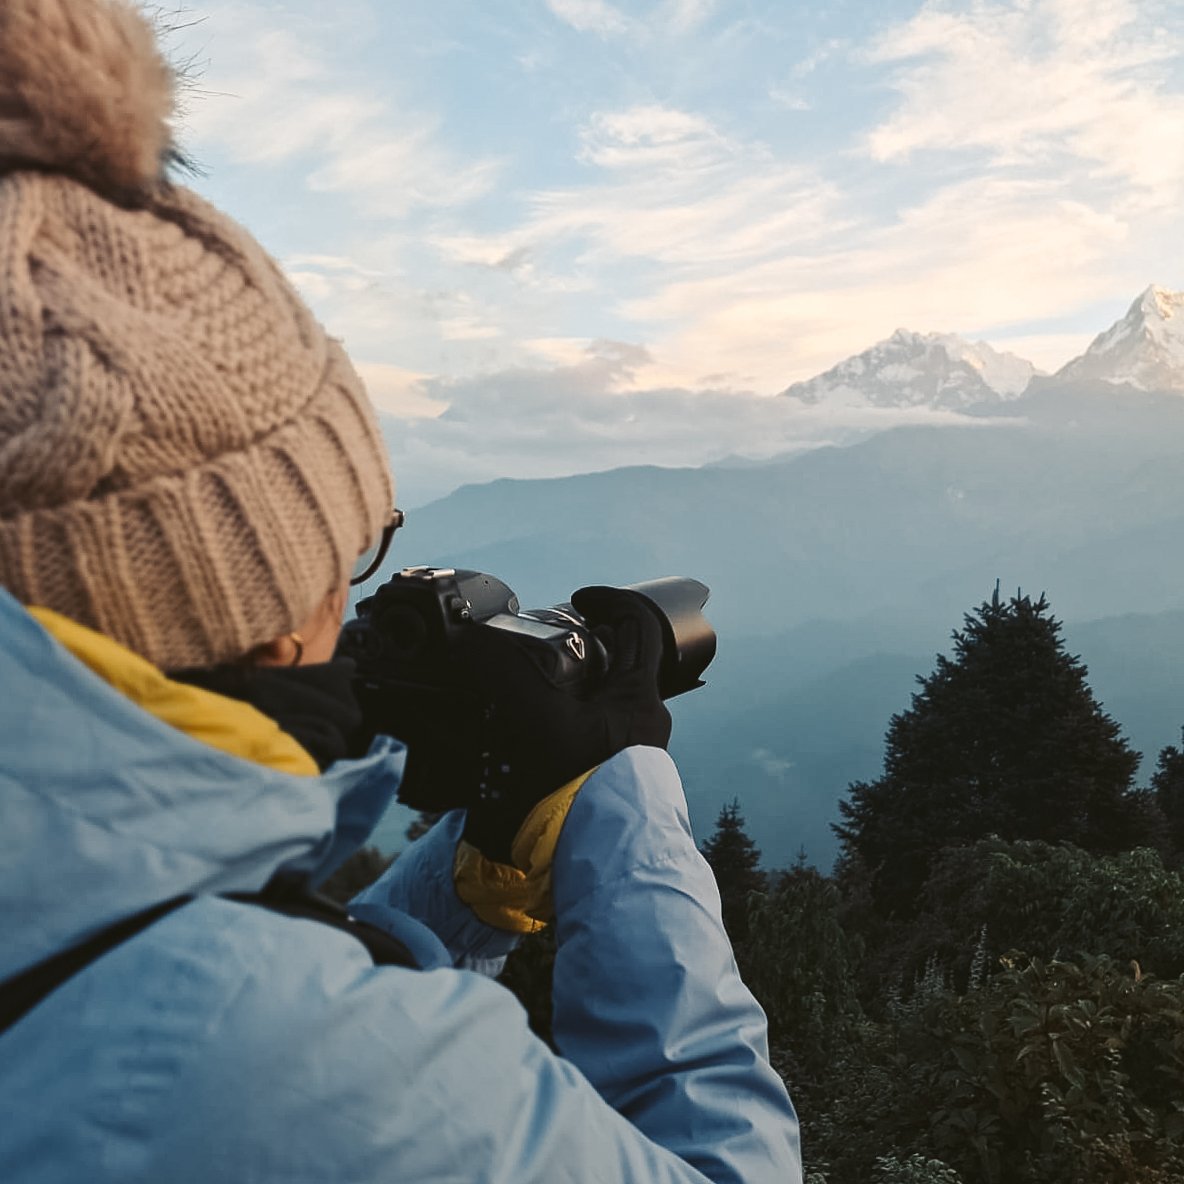
Our first mission is to get a photograph of the best possible resolution and sharpness with the camera from a high point. To do this we need a desire to hike to the top of a mountain or cliff and a reflex/mirrorless camera with a telephoto lens or a lens within the 70-300mm focal lengths.
The base image we will use in this process will be the following one I took with the Nikon D850 and the Nikorr 24-70mm lens.
It is important that before we shoot "wildly", we think about the result we want to achieve and visualise it in our minds. "Why Mara? Well, what we want is to make our life as easy as possible. If we are looking for a zenithal coastal photograph as in the case we are going to do together, it will make much more sense to look for a horizontal photograph that covers all the possible field of view and try to centre the proportions of coast/land so that compositionally it is much more attractive. Basically the result we are going to get will depend a lot on this step.
Tip: We are going to play with perspectives in editing, so the easiest thing to do is to find landscapes that do not have subjects in perspective, such as houses, trees, people or bushes. Trying to get the "flattest" shot possible will make things much easier.
2. Once we have our photograph we just need to do the magic. To do this we are going to start by flipping our photograph horizontally until it is vertical.
3. Have we got it? That's perfect! Now we edit the photo in Lightroom as usual. I used my "West Coast" preset from the "Dream" collection (Spoiler: very soon will be available the presets I use the most in my day to day life so you can also give a soft & dreamy look to your photos in a simple way and speed up your workflow!!!) together with some masks.
4. Now it is time to crop the image and centre the subject we are interested in. In this case I have used the same proportion of water and land, leaving the coastline as a guide.
5. Once we have the light and colour of our photograph to our liking and the crop done, we have to transform the perspective and for this step, Lightroom has a panel that will change the perspective of the photograph completely. This panel is called "Transform" and when used properly it can change the rules of the game as you will see below.
We will play with verticality, horizontality, the X axis and the Y axis. The best thing to do is to try out different values until you get a perfectly balanced overhead shot that looks like a drone shot!
Once we have found the values we like, we just need to clean up the photo a bit in Photohop and... voilà!
We have gone from a photograph taken with a reflex camera to a shot from above that anyone would think would have been taken with a drone!
I hope you liked this little tutorial, that you learned something new and if you put it into practice at some point don't hesitate to tag me on social media so I can see how creative you got using this new resource.
See you next time!
AUTHOR:
MARA DE LA TORRE
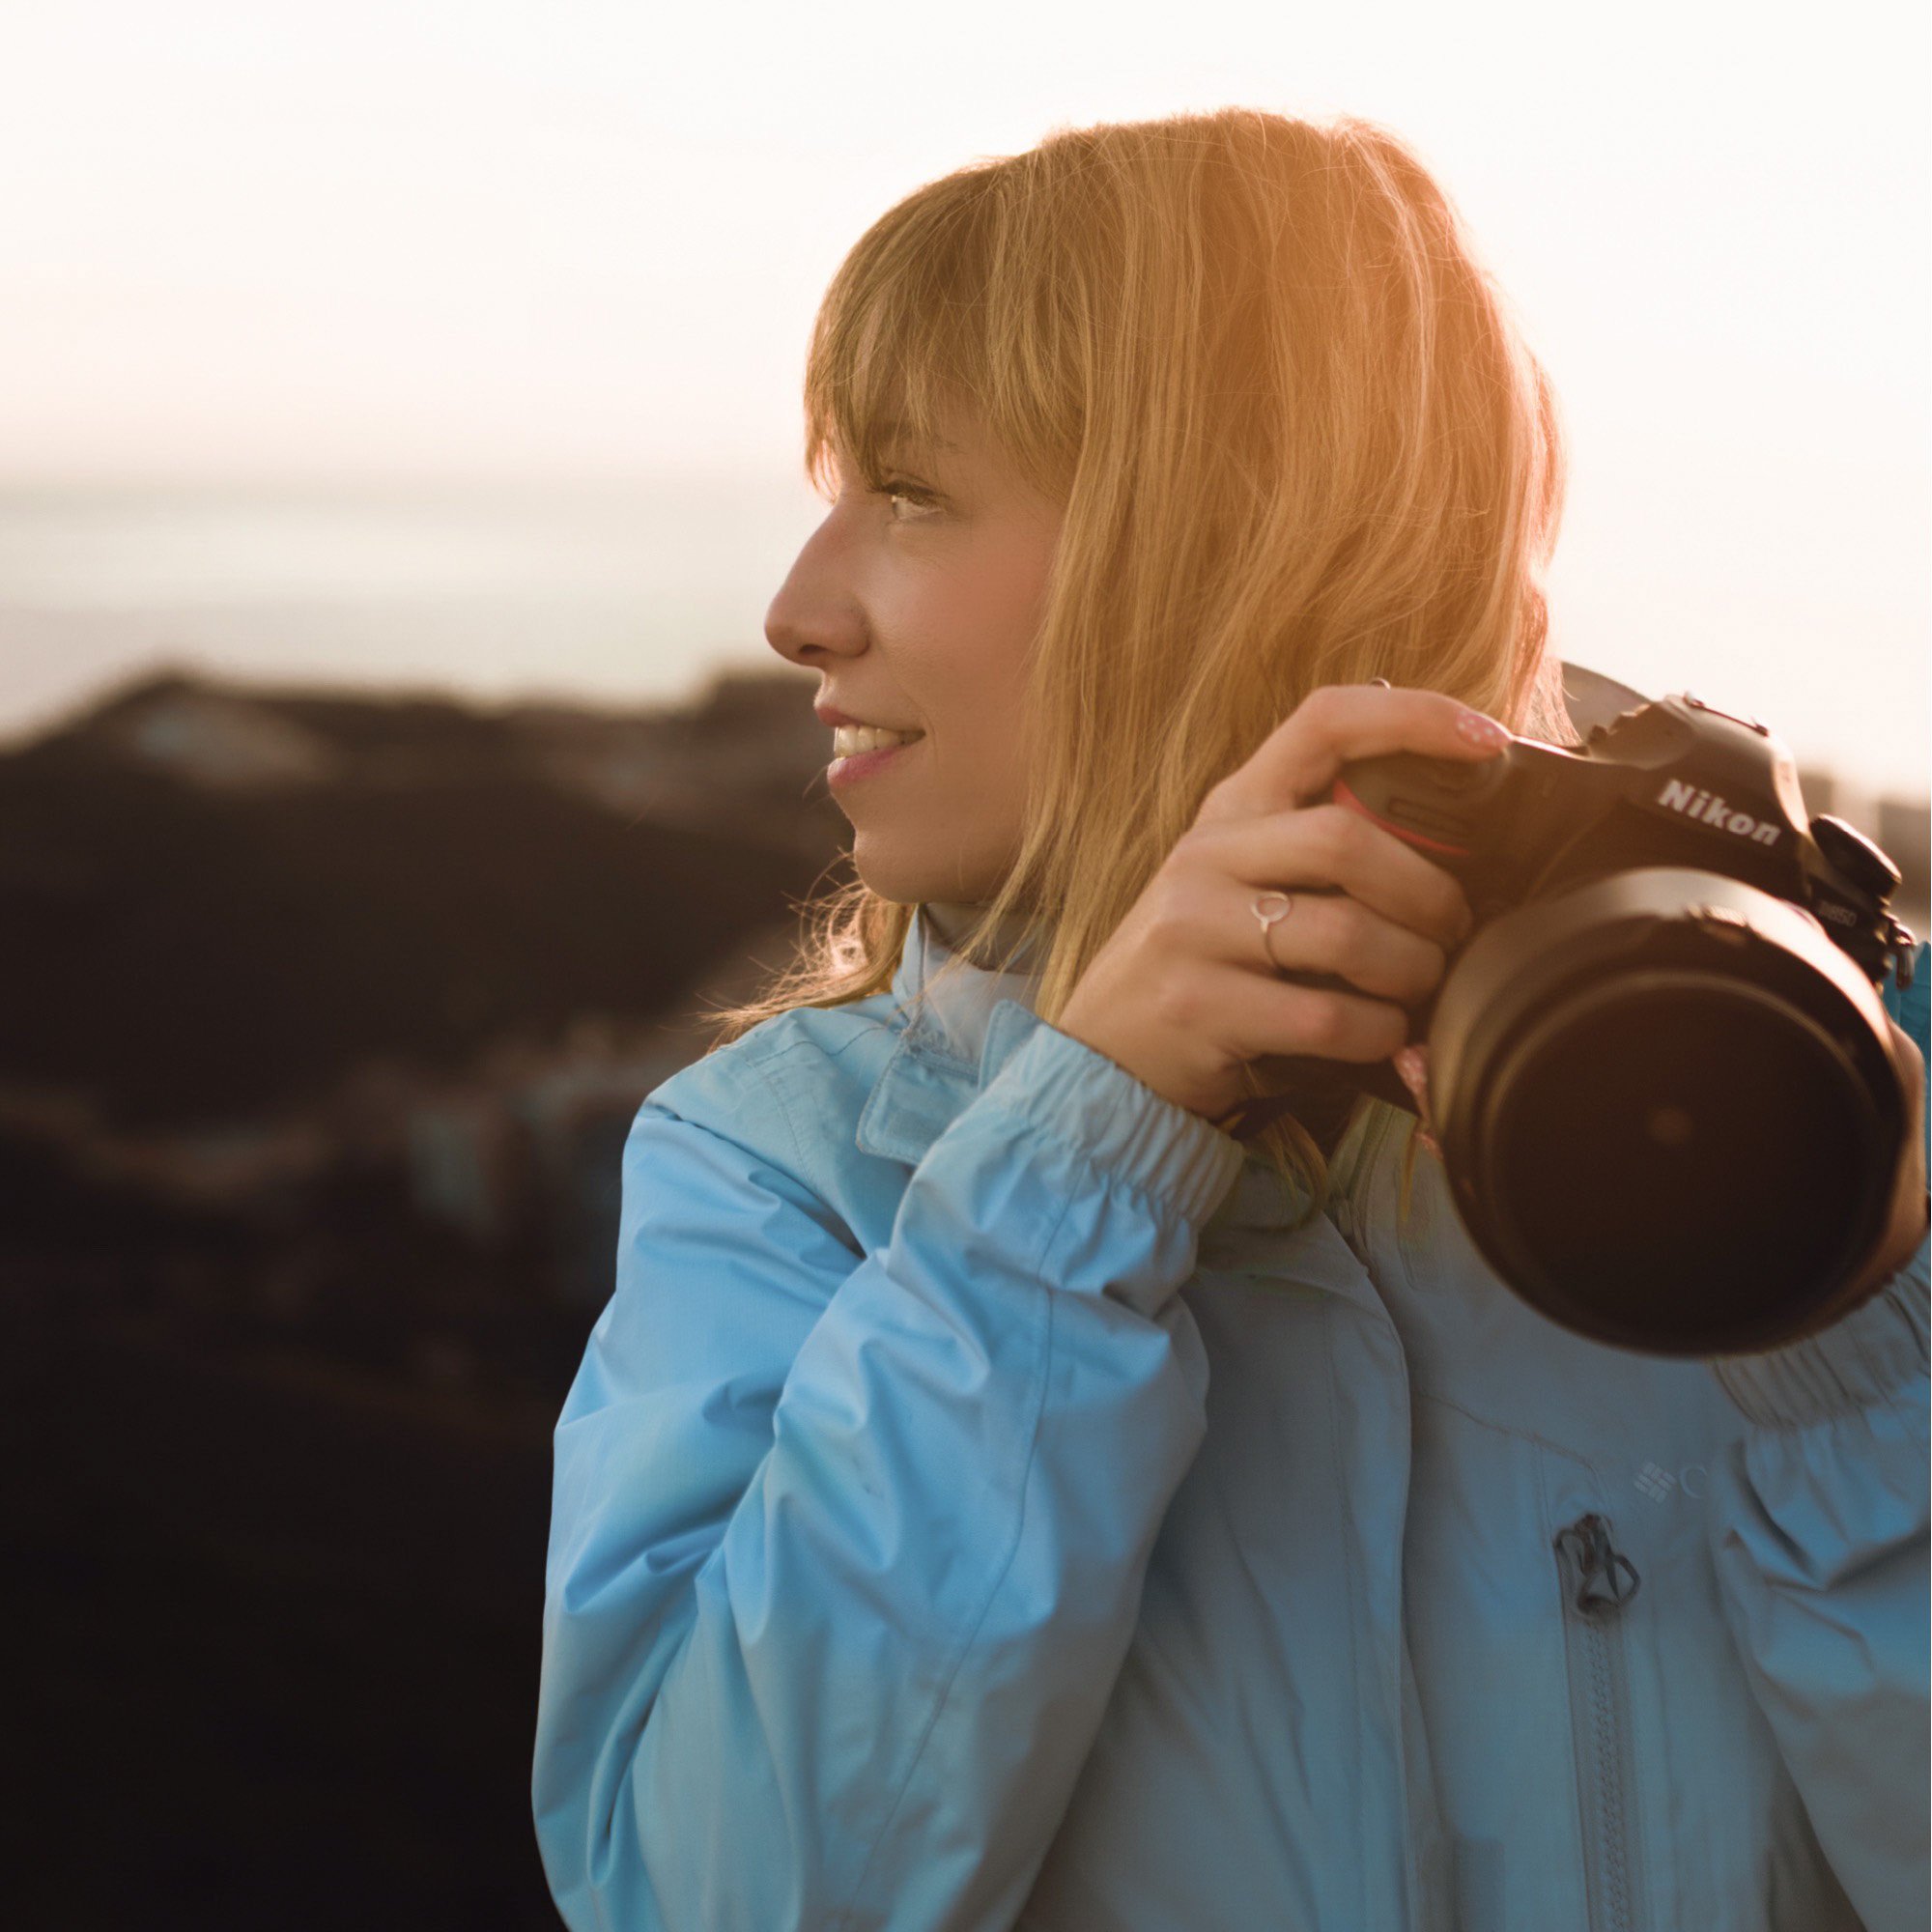
Professional travel & commercial photographer. Content creator spesialised in storytelling.
Lover of nature and capturing it through the lenses


